Adding speech to your Embedded Project
I had this one project where the device was supposed to speak out the output. And I was too Lazy to actually go and build a PC based application and not that lazy to make it on a micro controller. So here is some of my research where i am gonna show you how to do speech synthesis for your Embedded Project.
Why I am Implementing it on a Microcontroller?
-Its Cheap
-Its Portable
-Its Fun
-Its Easy ( Yes! Once you Port it on your platform, it is)
What do we need here.
-A low power Speaker (8 Ohm one will match the impedence)
-A Micro controller with PWM generation possible and lots of memory ( We are using Atmega128)
-A low pass filter adjusted on 8Khz Band.
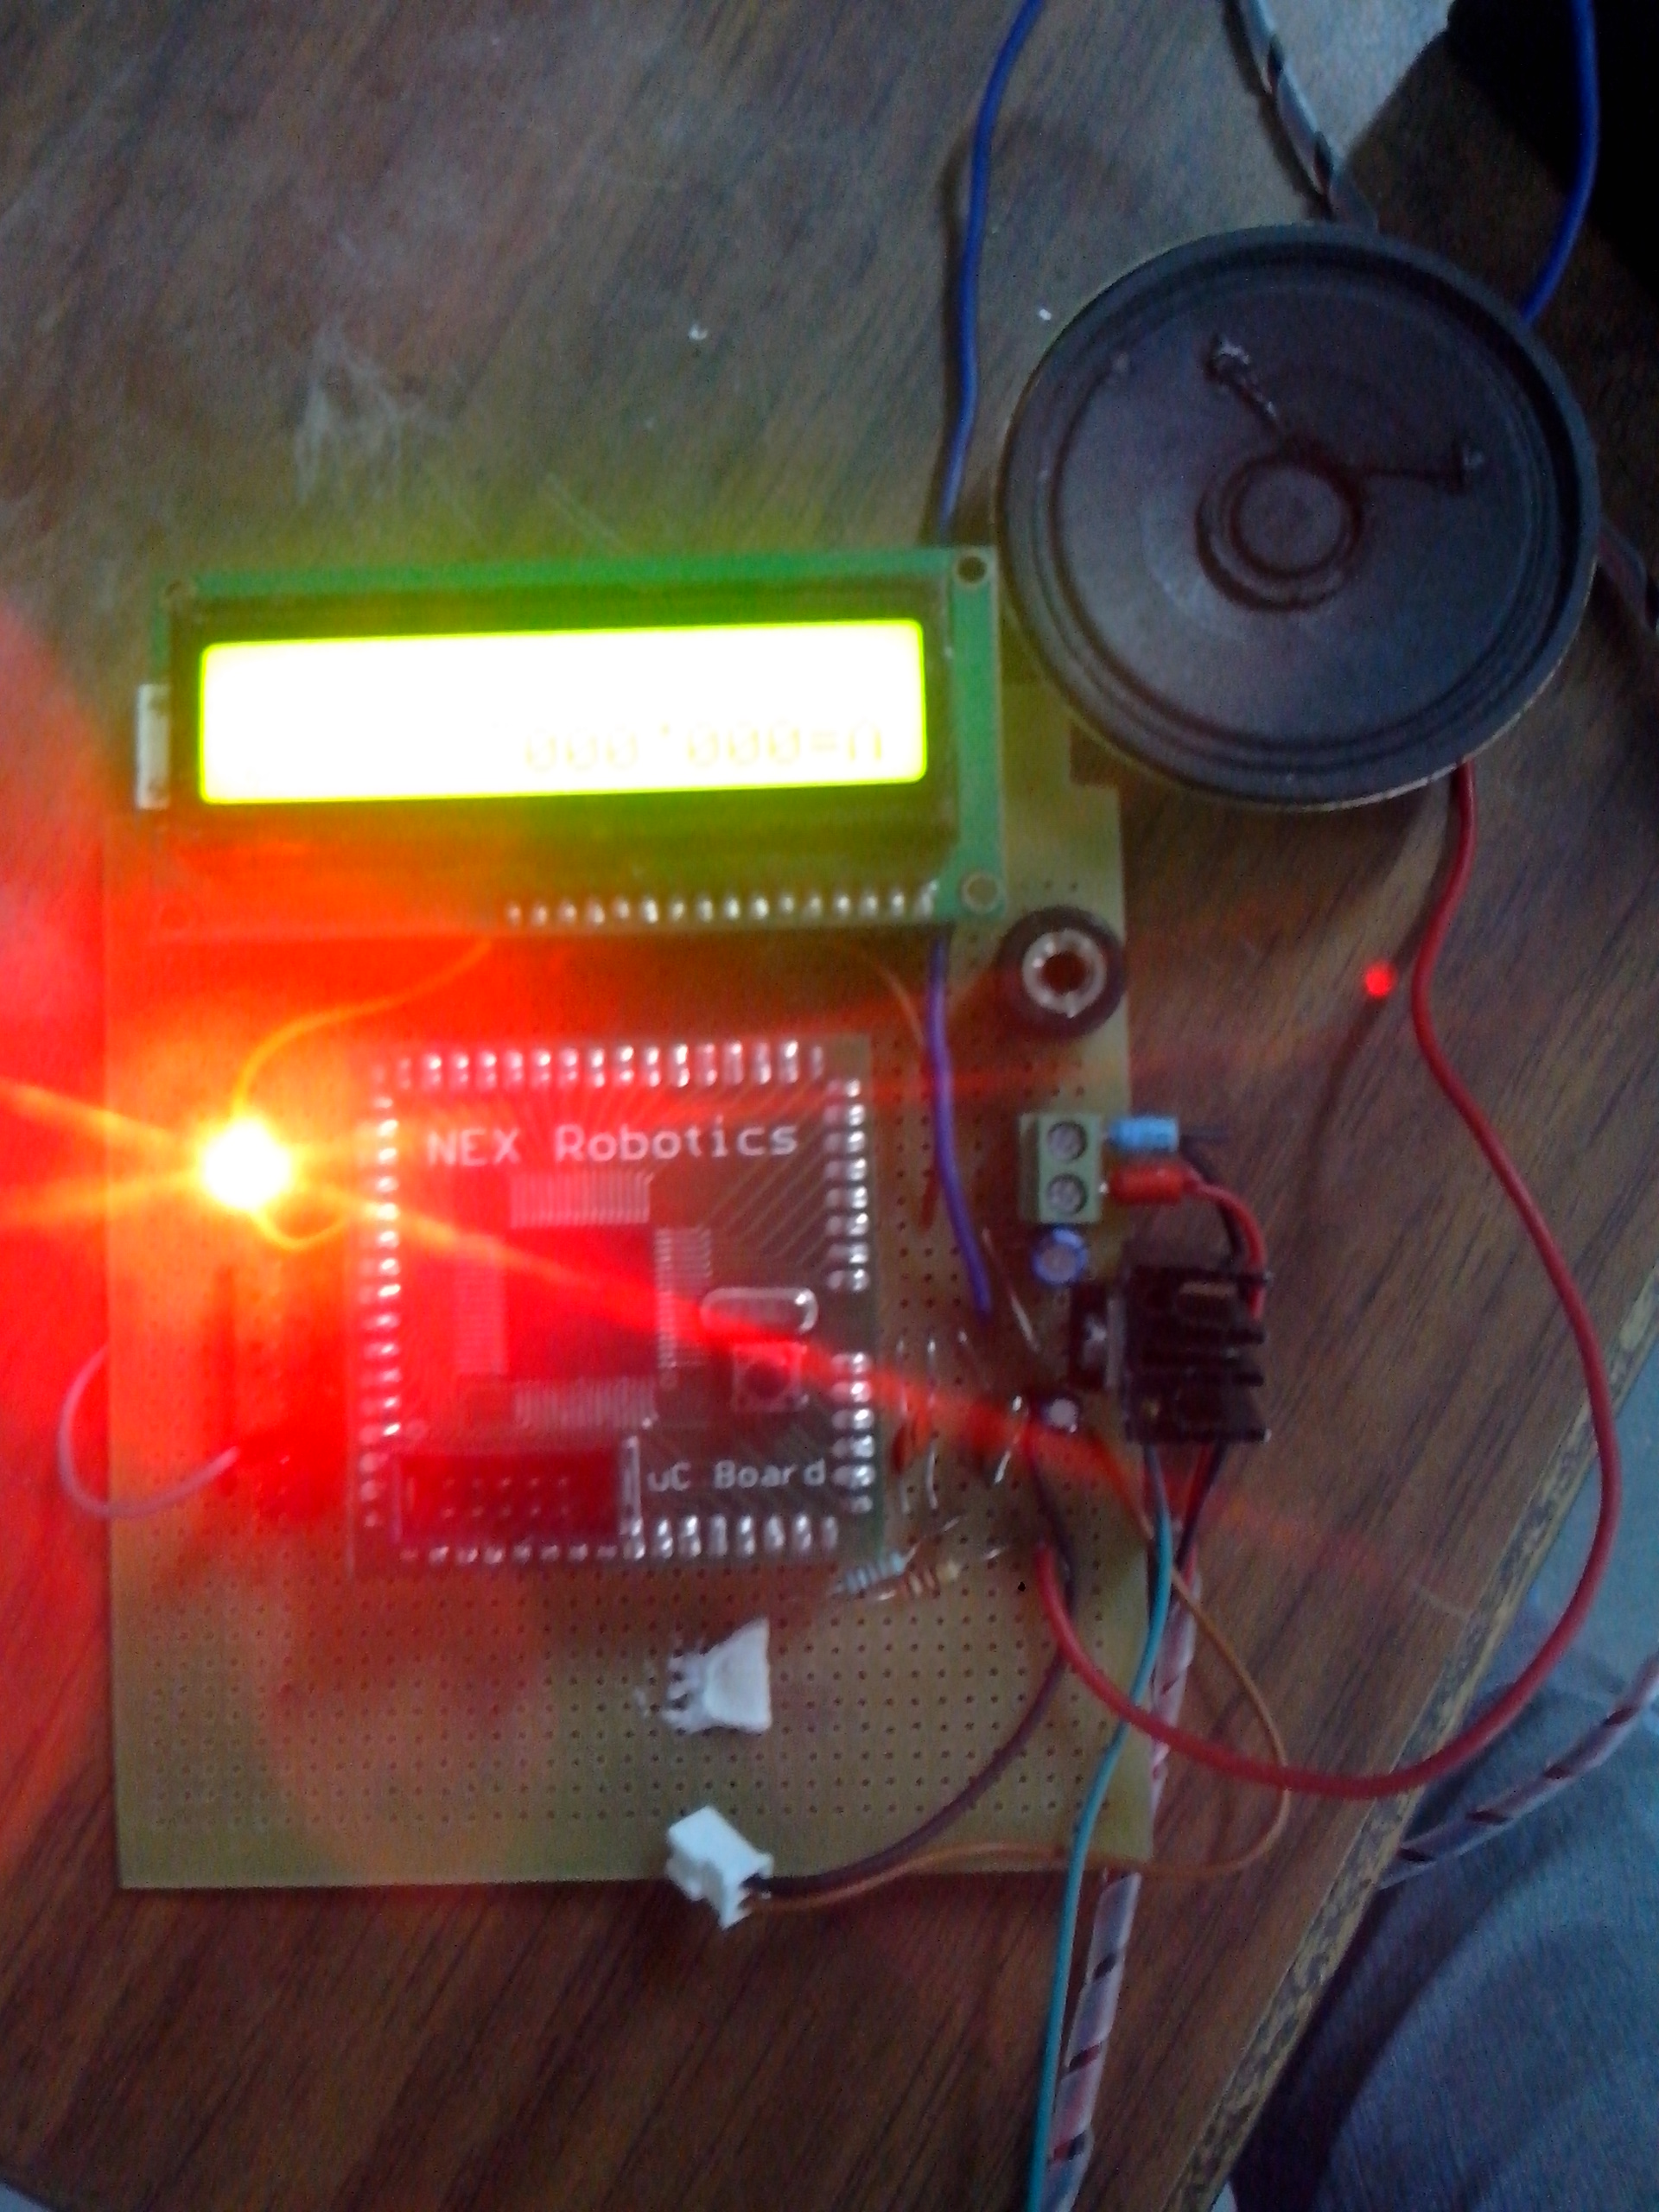
(I know The board is ugly 😛 as usual )
here is one Warning before implementing this project. This will eat up lots of memory from your Micro controller so if you need larger syntax’s as speeches. Buy a micro controller with larger memories or interface external memories as even smaller words takes KB’s of memory
oka, now let me give you an overview of this. What we are gonna do here is we will take some Voice files, store into our Micro controllers and then put it out on a speaker. Simple right? well it is’nt 😛 took me days to implement this.
Step one: Record your Voice or any sound in wav files. Why wav? well they are said to be the one with higher compression ratios eating out lowest memories. Thats what we need.
Step two: Now we need to Compress or i should say resample into lower rates. Our Controller is an 8bit one so lets make it to 8bit 8khz Compression. It will reduce its size compromising the quality of the voice.
Here is one very nice converter which will help you out with this compression.
Switch Sound converter
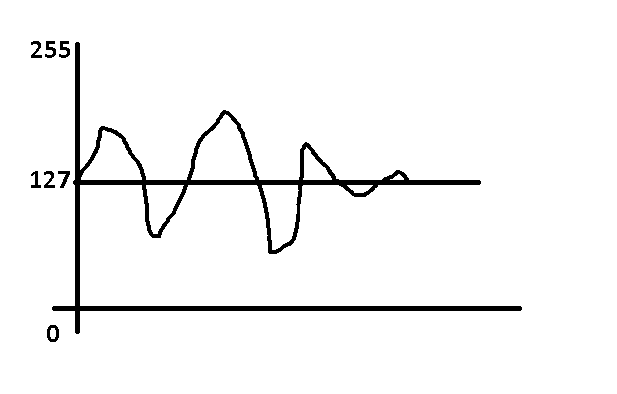
Step 3: Now You need to make this wav file understandable for our Controller. So we need to make this into 8bit digital data. ou must have seen voice signals are analog wave of signal with origin and ups and downs. what we will do here is we will put origin as 127 and will oscillate the data from 0 to 255.
Some anonymous person has written a great function in cpp to do this for us making our lives easier. Here is it with its code and executable. Just drag and drop your files into this and you will get your voice data as huge arrays of values.
Here is an example of what zero.wav looks like
const long zero_length=6200;

const unsigned char zero_samples[] PROGMEM =
{	122,122,120,119,117,116,116,116,117,118,121,124,123,127,131,133,135,136,140,141,139,140,140,138,135,133,133,130,128,130,130,129,128,130,130,128,128,128,127,125,124,124,122,120,118,117,116,116,116,117,118,120,122,125,127,130,133,135,137,139,140,140,140,139,138,136,134,132,131,132,131,130,131,130,130,130,130,128,127,127,125,124,122,120,119,117,115,115,115,116,116,117,120,122,124,126,129,132,134,136,
	139,140,140,140,140,138,136,134,133,132,132,131,131,131,131,131,131,130,130,128,127,126,125,124,122,122,119,118,116,115,115,115,116,118,119,121,123,125,128,131,134,136,137,139,140,140,139,138,136,134,133,133,132,132,132,132,132,132,132,131,130,129,128,126,126,125,123,122,120,119,117,115,115,115,115,116,118,120,121,123,126,129,132,134,136,138,139,139,140,139,137,135,134,134,132,132,132,132,132,132,132,132,130,130,129,128,126,126,125,123,121,120,..............................
}
Step Four:
Now the only thing you have to do it is Put Out one by one of this value out to the speaker at the interval of 125uSecs. That is 8khz of frequency that is what we have compressed our files to.
You need two timers for this task. One to Actually generate the waveform and another to Exactly time the Putting out these eight bit values.
here is the initialization function where i have initiated the 8bit timer to overflow at 8khz. And another 16 bit timer to generate the PWM signal corresponding output. And also initiated Timer overflow interrupt enable in timer mask.
    DDRB = _BV(PB4) | _BV(PB5);

    TCCR1A = _BV(COM1A1) | _BV(WGM10);

    TCCR1B = _BV(WGM12) | _BV(CS10);

    OCR1A = 0;

    TCCR0|=(1<<CS00);
    TCNT0=0;
    TIMSK|=(1<<TOIE0);
    sample_count = 4;
    sei();
I have 8Mhz internal fused burned and the calculations were mismatching. So i made the code to enter into ISR at 32khz and stepped it down using a flag by 4 to make it 8Khz.
Here is the ISR for our code.
ISR(TIMER0_OVF_vect)
{
sample_count--;
         if (sample_count == 0)
            {
             sample_count = 4;
			flag=0;
             OCR1A = pgm_read_byte(&zero_samples[sample++]);
             if(sample>zero_length)sample=0,flag=1;
            }
}
what it does is it is reading one by one value from the array zero_samples[] and putting it out on Output compare pin. Generating equivalent waveform to zero.wav file.
Step five:
The waveform generated is a square wave and it wont sound good as it has higher frequencies associated with it. How to sort that out? Pass it through a low pass filter and boom the signal will smoother out, check out yourself on some scope.
Here is How a low pass filter looks
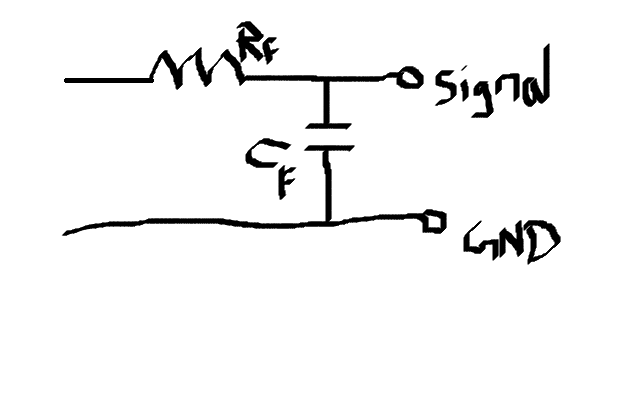
Use Fc=1/(2*Pi*Rf*Cf) formula. Put Fc as 8Khz and obtain the Rf, and Cf values. And put it directly to the speaker and you are gonna hear your wav filed voice on speaker. Use an audio amplifier for louder voice. Use your variations and do tell us how great it went out to be.
Here i am attaching a zip with a compiled code to say digits from 0 to 9. Use it as a sample.
voice ( After Downloading, Rename it as *.zip Sorry for wordpress restrictions 😦 )
Thank you.
P.S. This project was exclusive for AVR platform and on atmega128 microcontroller of this family. If you are planning to Port it on some other platform steps 1,2,3 and 5 remains same. Step 4 changes according to your MCU frequency and Way the code gets into the ISR at the interval of 125uSecs. Its easy, Try it yourself.

Pingback: Microcontroller Speech Synthesis Lets Your Project Be Heard
Great work!
Thank you.